
Article: Quick Setup Guide - Heat Recovery Ventilator for Single Room
Quick Setup Guide - Heat Recovery Ventilator for Single Room
Introduction
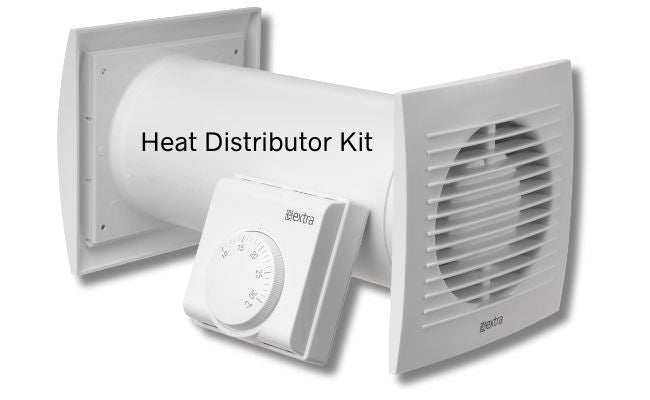
A wall mounted ventilation heat recovery unit (MVHR unit) for a single room optimises air quality by exchanging indoor air with fresh outdoor air and recovering heat. This guide outlines the straightforward steps to set up an Heat Recovery system in a single room, enhancing comfort and energy efficiency.

Preparation
Necessary materials and tools:
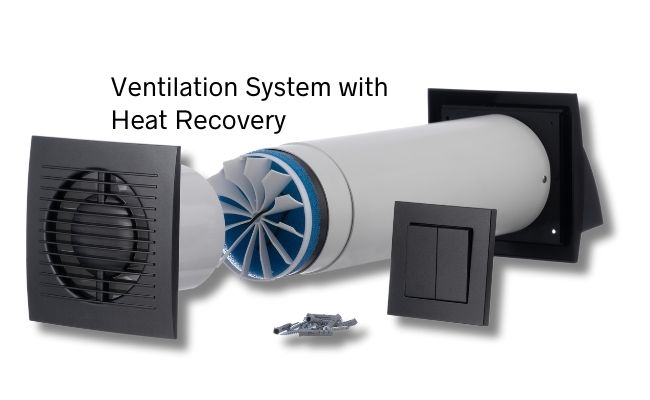
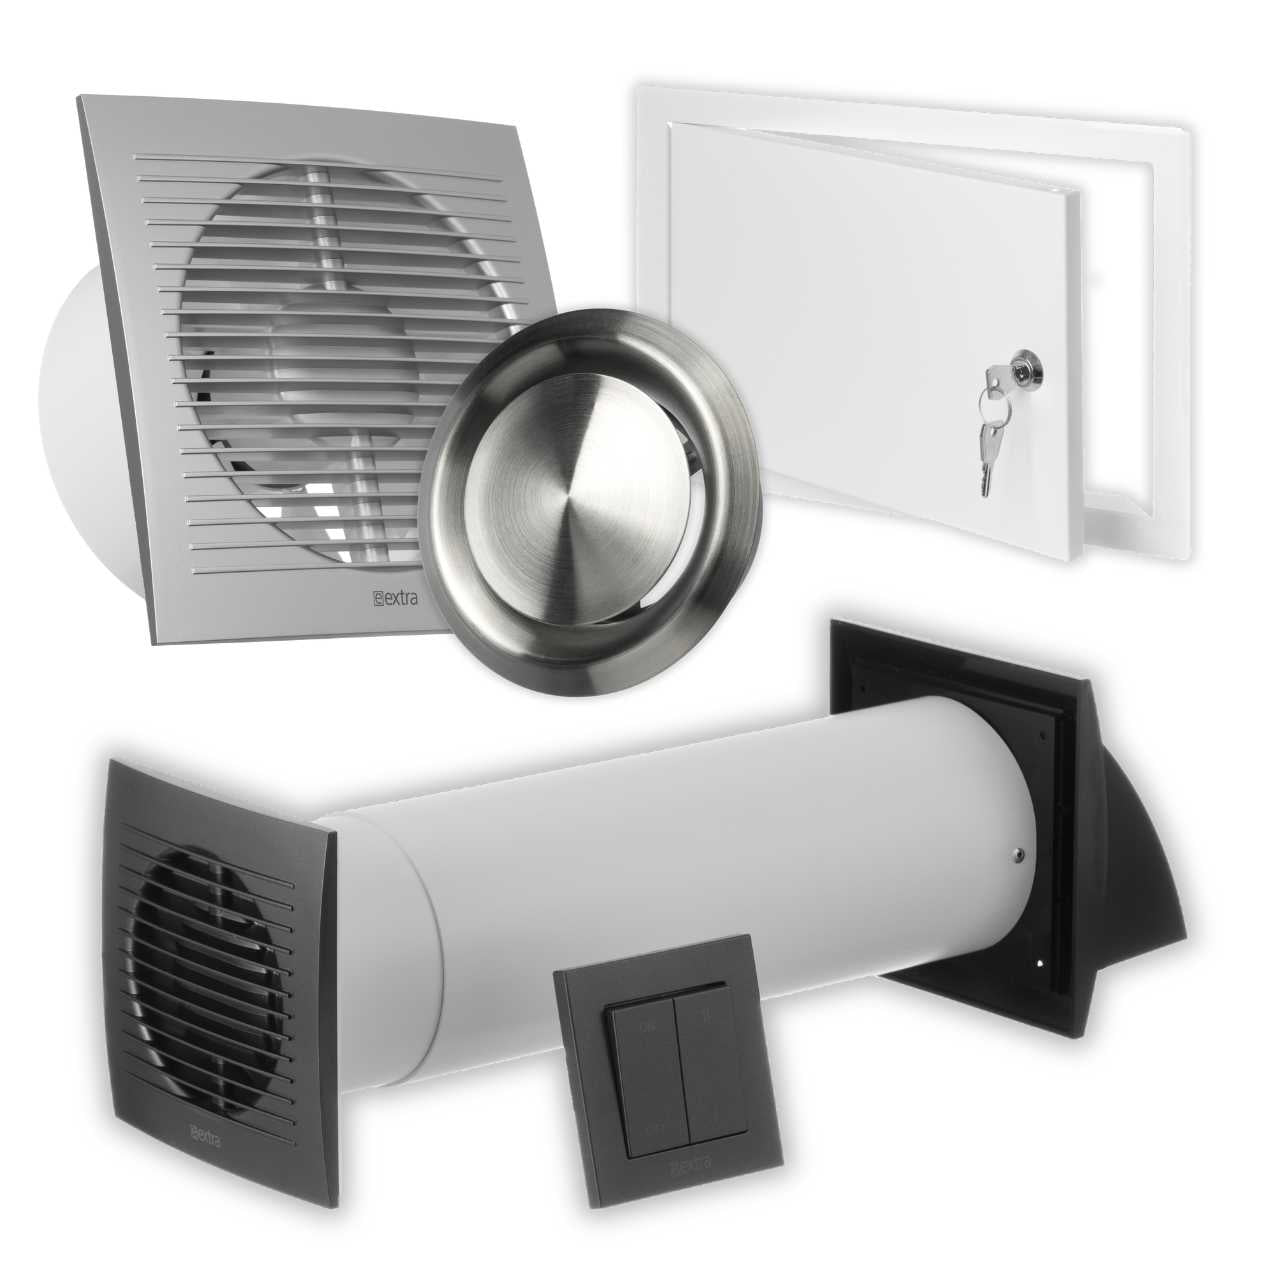
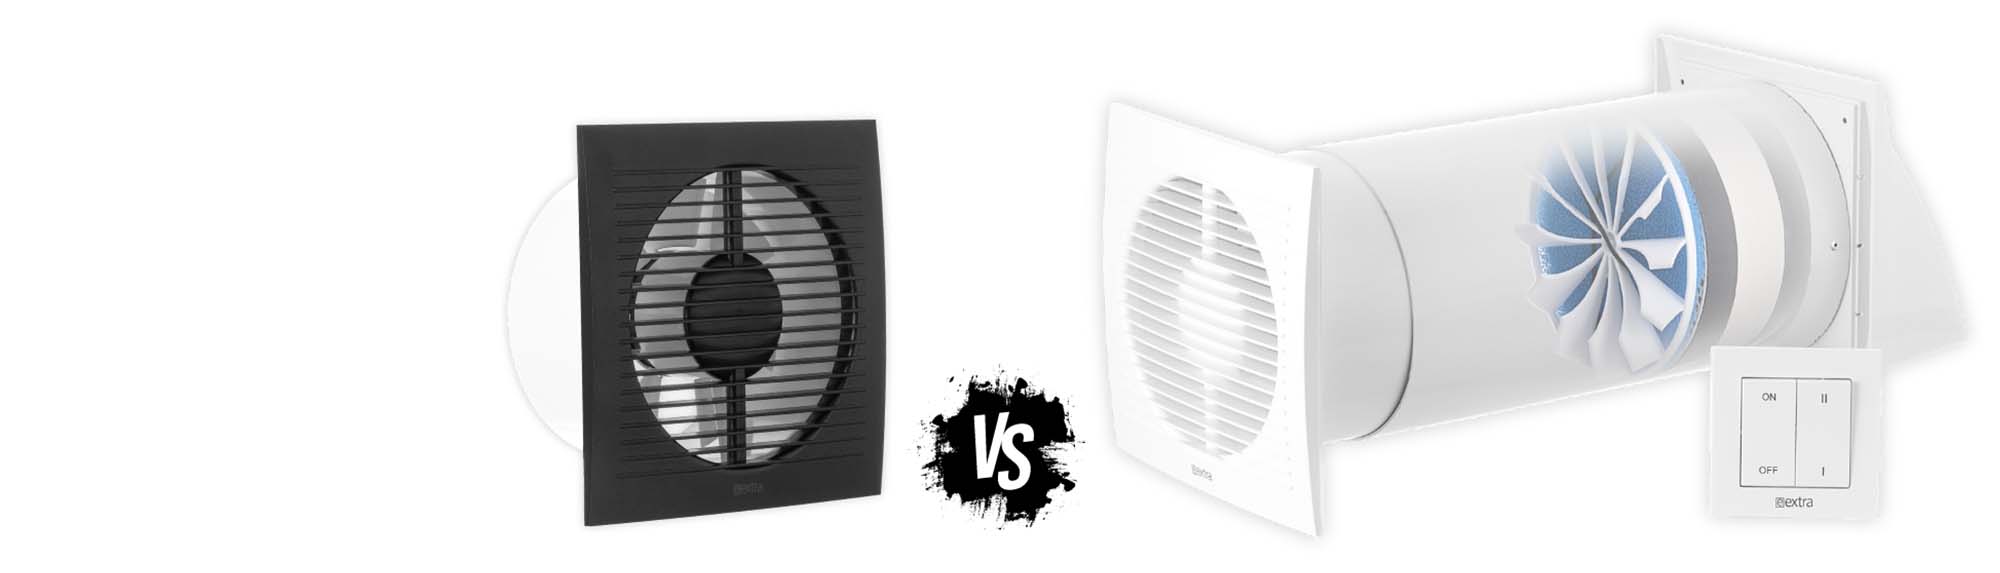
- Heat Recovery Ventilation Unit for Single Room itself,
- Drill and screwdriver - for creating a hole and fixing the fan,
- measuring tape and spirit level for accurate measurements and installation of air ducts at the required drop,
- Sealant - In case it is necessary to seal the gap between the air duct and the hole.
Safety Equipment:
Remember your safety when doing work! Use appropriate protective equipment - gloves and safety goggles.
Before You Start:
- Determine the installation location of the Single Room Heat Recovery unit (MVHR), which requires an external wall with a direct output to the outside. Suppose the installation is intended in a room higher than the ground floor. In that case, it is worth considering the location next to the window for easier installation of parts that must be inserted from the outside and for further maintenance.
-
Provide access to electrical connections in accordance with local regulations. Entrust the connection of the electrical device to the electrical network to a professional certified electrician.
Step 1: Installation Site Preparation
1. Select the heat recovery unit MVHR Unit Position: Mark the spot on the wall where the MVHR unit will be mounted. Ensure it's accessible for maintenance.
2. Drill Holes for Ducts: According to the MVHR model's specifications, drill holes for the intake and exhaust ducts. This step may require professional tools or assistance. Note that the air duct must be installed with a 1-2 degree slope towards the outside.
3. Prepare Electrical Connections: Entrust the connection of the electrical device to the electrical network to a professional certified electrician.

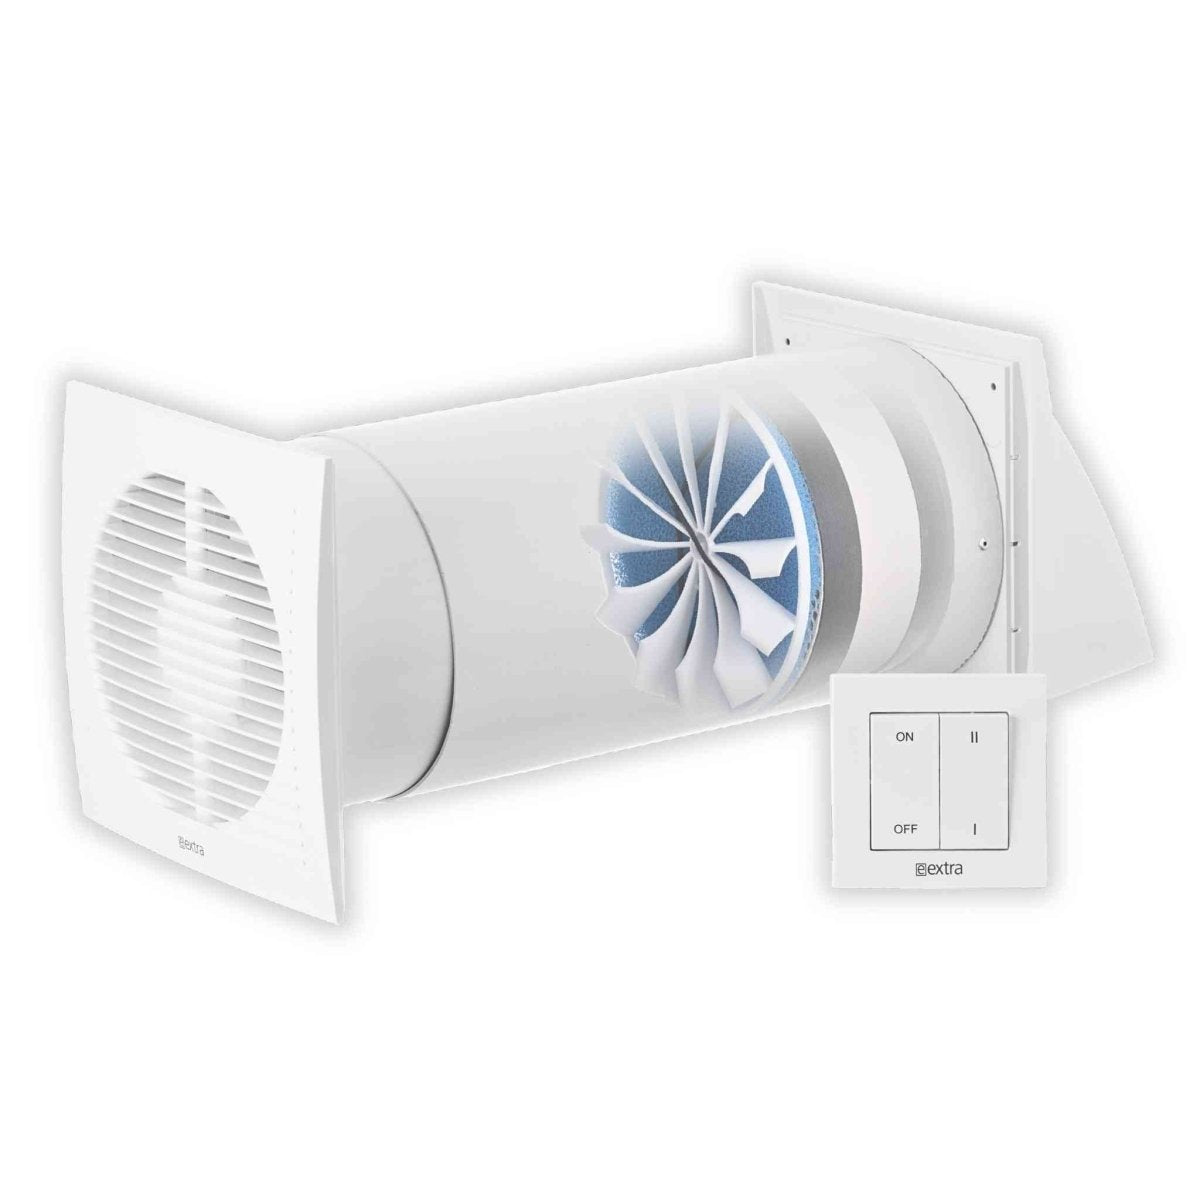
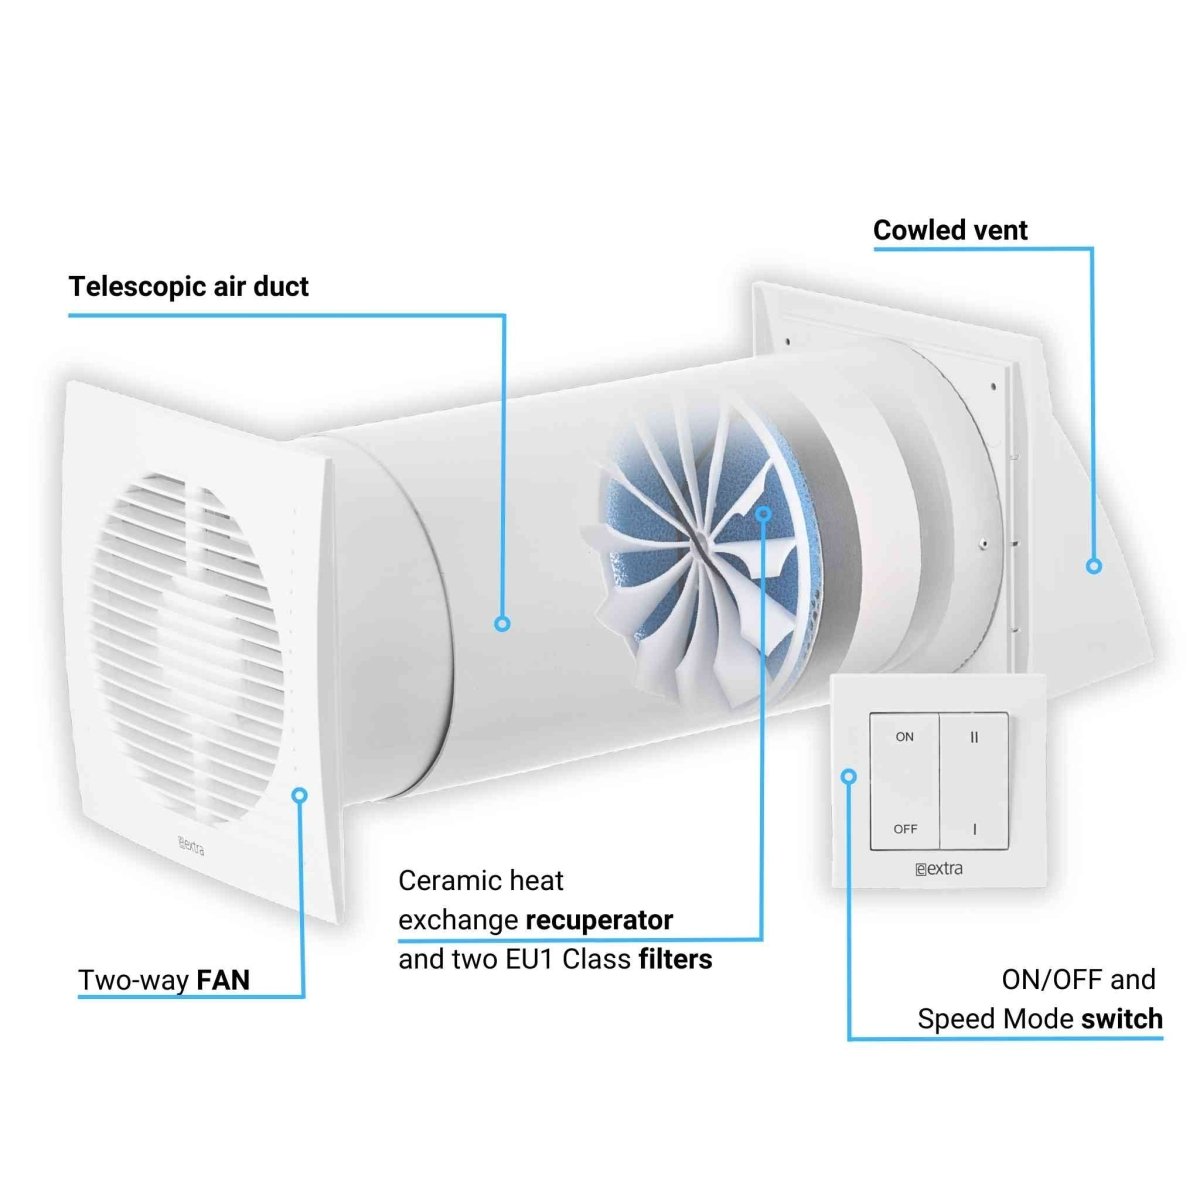
Step 2: Mounting the HRV Unit
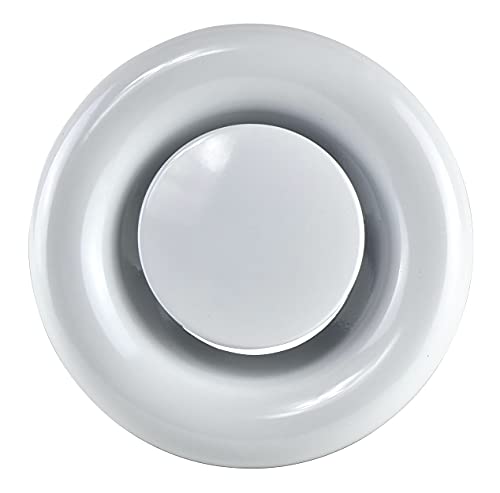
- Install the cowled vent and air duct from the outside. Use a sealant to seal the gap between the hole and the duct if necessary. Secure the cowled vent with screws. Remember the required drop for the air duct - 1-2 degrees towards the outside.
- From the inside, adjust the telescoping air duct at the end of the wall so that the air duct is inside as far as the hole but does not protrude beyond the dimensions of the wall. If necessary, use sealant between the hole and the airline. Remember the required drop for the air duct - 1-2 degrees towards the outside.
- Insert the ceramic heat exchanger recuperator together with the filters (fixed together with the grommet) into the air duct. This block should be located in a hardened air duct closer to the outer wall.

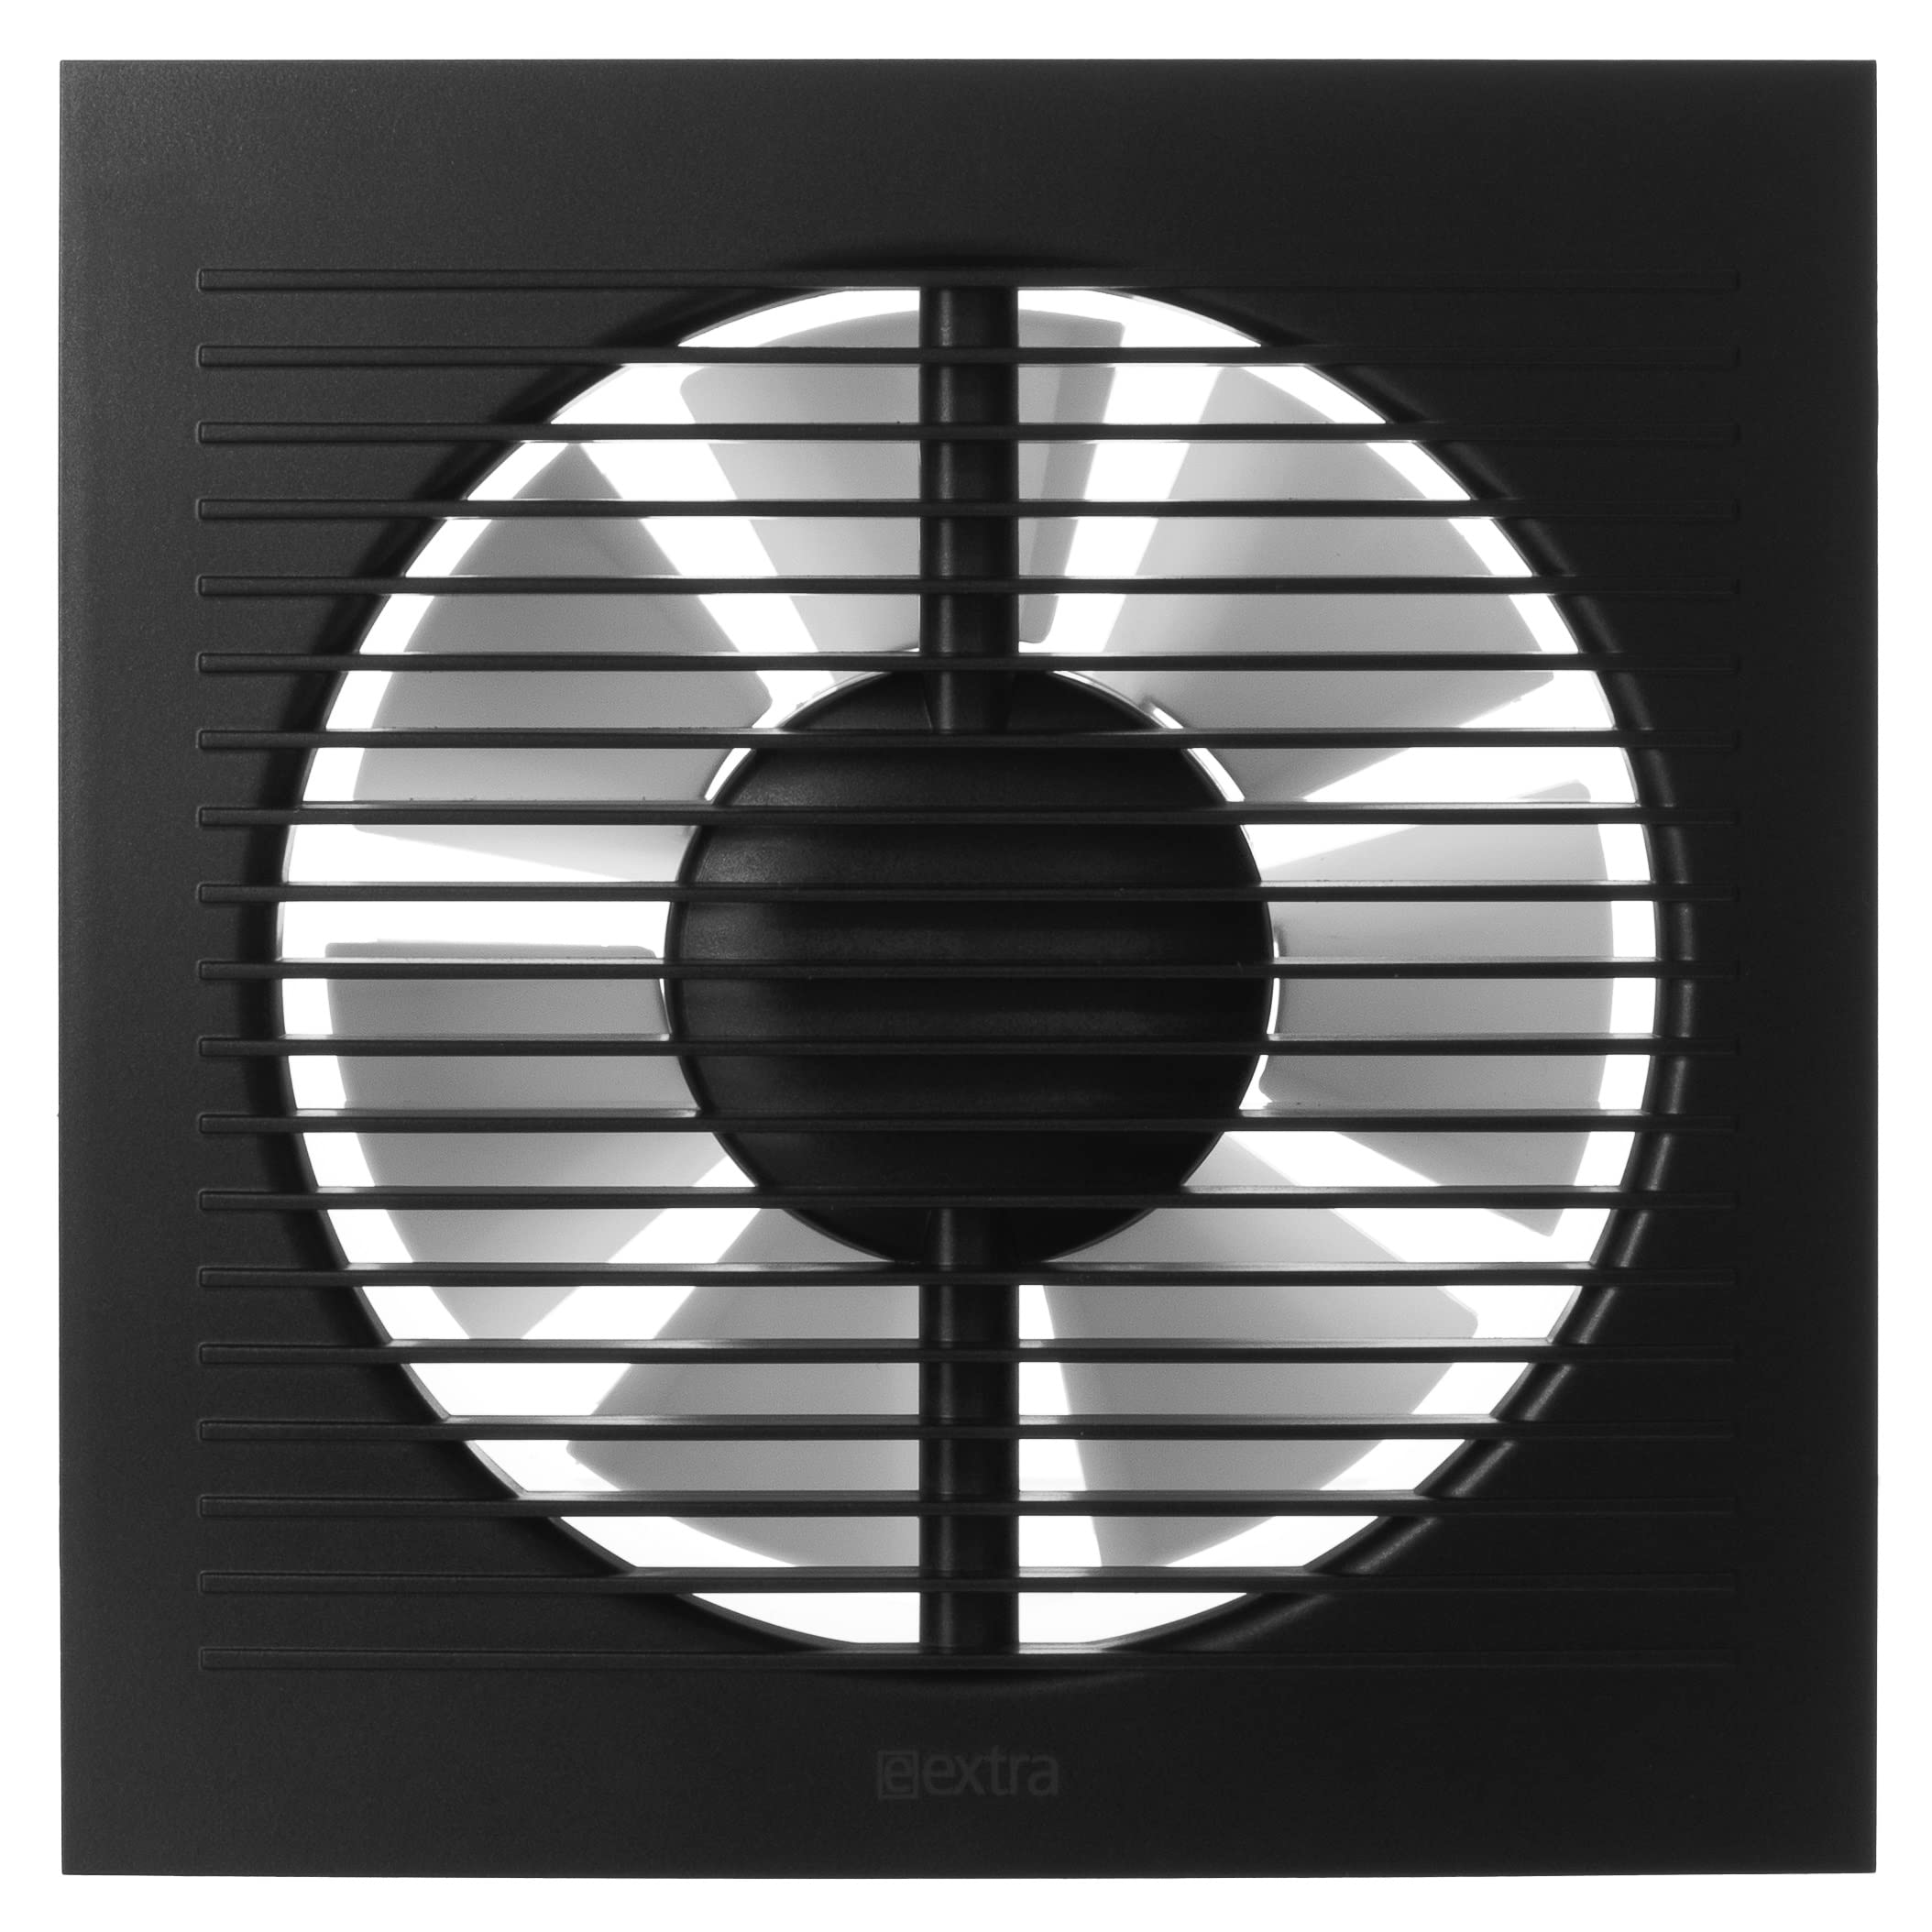
Step 3: Two-way FAN
- Remove the decorative panel of the fan: it is necessary to loosen the two latches on the lower edge of the fan with a flat screwdriver.
- Secure the Fan: Insert the fan into the air duct and secure it with screws.


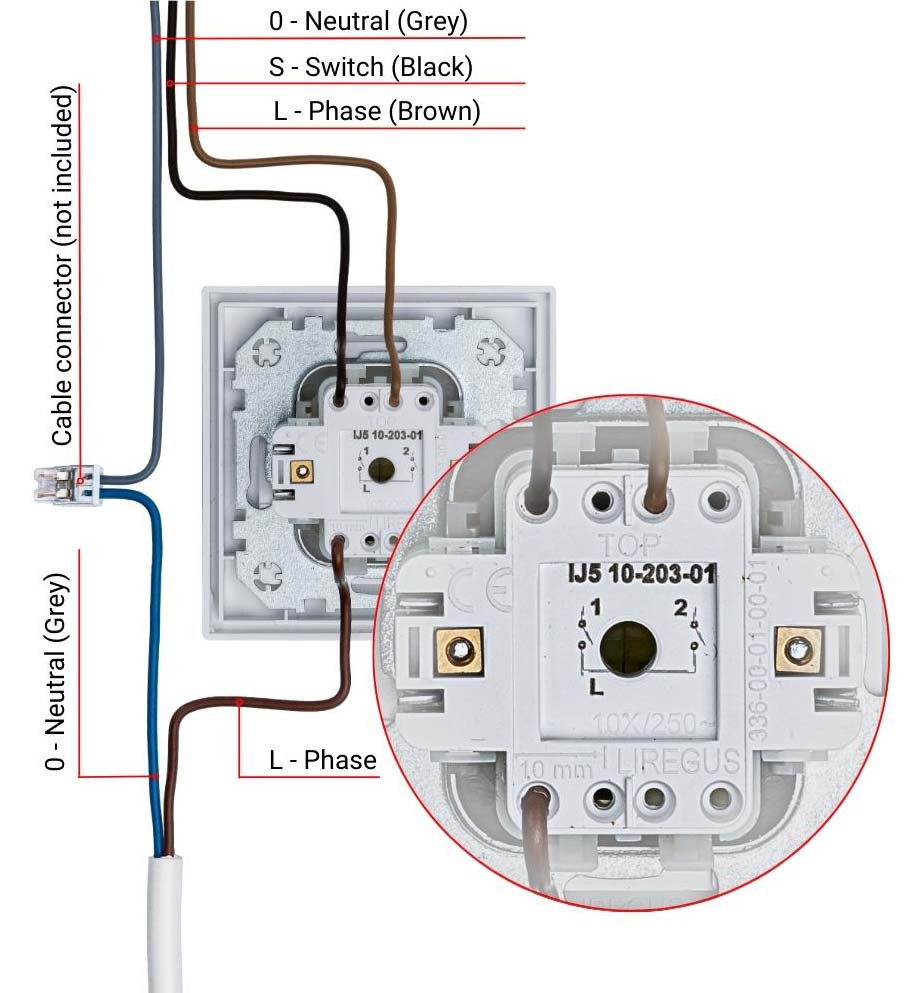
Step 4: Electrical Connection
Important! Entrust the connection of the electrical device to the electrical network to a professional certified electrician.
Connect Power: Connect the Heat Recovery Fan and Switch to the power supply, paying attention to the schematic and wire colour. Complying with all safety and construction regulations. This step may require a certified electrician.

Step 5: Testing and Commissioning
Test the heat recovery system work: Turn on the Heat Recovery Unit Switch to check the fan's operation. Shift Speed Mode between I and II ensures the switch works correctly. In the on mode, at one speed, wait 70 seconds to ensure the fan changes the airflow direction.
The fan changes the airflow direction automatically, switching every 70 seconds.
Maintenance Tips
- Regular Cleaning: Regular cleaning of the device from dust and dirt is essential. Clean the filters based on dirt accumulation at least once every three months. You can clean the filters by washing them with water.
- Annual Inspection: It is recommended that the regenerator be cleaned at least once every year to ensure its optimal functionality. You can use a vacuum cleaner to get it done.
- Before cleaning the recuperator, switch it off and ensure it doesn't turn on unexpectedly.
How Does a Heat Recovery Ventilator Work
Decentralised Heat Energy recovery takes place thanks to the reversible operation of the fan, which consists of 2 cycles.
Heat Recovery Cycle I
The warm, consumed exhaust air passes out of the room and flows through the ceramic heat exchanger. The exhaust air heats and humidifies the heat exchanger. In 70 seconds, the heat exchanger heats up before the fan switches to the supply air mode.
Heat Recovery Cycle II
The fresh outdoor air flows through the ceramic heat exchanger, which removes stored heat until the room reaches the temperature.
In 70 seconds, the heat exchanger cools down, and the fan switches to exhaust mode. The cycle starts again. Switching to the supply and exhaust mode takes place every 70 seconds.
A decentralised MVHR unit (Mechanical Ventilation with Heat Recovery) is designed for continuous operation 365 days a year.
Conclusion
Installing a Heat Recovery Ventilator in a single room is a great way to improve indoor air quality and energy efficiency. By following this quick setup guide, you can enjoy the benefits of a well-ventilated space. Always refer to the Full User Manual for specific details and consider professional help for complex steps.


%20for%20a%20single%20room%20optimises%20air%20quality%20by%20exchanging%20indoor%20air%20with%20fresh%20outdoor%20air%20and%20recovering%20heat.%20This%20guide%20outli...)
Leave a comment
This site is protected by hCaptcha and the hCaptcha Privacy Policy and Terms of Service apply.